Instant Pot – Homemade Yogurt

Who knew yogurt could be so easy. Kalispell Creamery whole milk was on sale for $1.99 a gallon at my grocery store, I bought three gallons to try making yogurt.

The process was pretty easy, I was surprised. I love my instant Pot!!


1) disinfect your Pot first. Poor 3 cups of water into your pot and put the lid on with the seal closed. Press steam button, set to 5 minutes.

2) poor hot water out and allow pot to cool naturally or place in fridge.

3) once pot is cooled place back into instant Pot. Poor 1 gallon of whole milk into pot and press yogurt button. Adjust until you see boil.

4) whisk the milk often so the heat distributes evenly. Stirring helps the milk heat up faster also. Keep stirring every once in a while until instant Pot beeps. Check temp. Must be 180-185 degrees for a minute or so. If temp isn’t reached push the sautée button. Keep stirring until temp is reached. Once reached remove from instant Pot.

5) fill a sink full of cold water. Place pot of hot milk into cold water. Pot will float in the water. While monitoring the temp stir the milk until it cools down to 95 a 100 degrees. Once temp is reached remove pot from sink of water.

6) add 2 tablespoons of good quality yogurt with all the cultures to a small cup. Place some of the warm milk in cup with cultures and mix well. Stir into the rest of the warm milk. 

7) place pot back into the instant pot and cover with lid. Seal closed. Press yogurt button. Should read 8hrs and setting is on normal.

8) after incubation is finished remove covered pot and place into the fridge for 6-8hrs to rest.

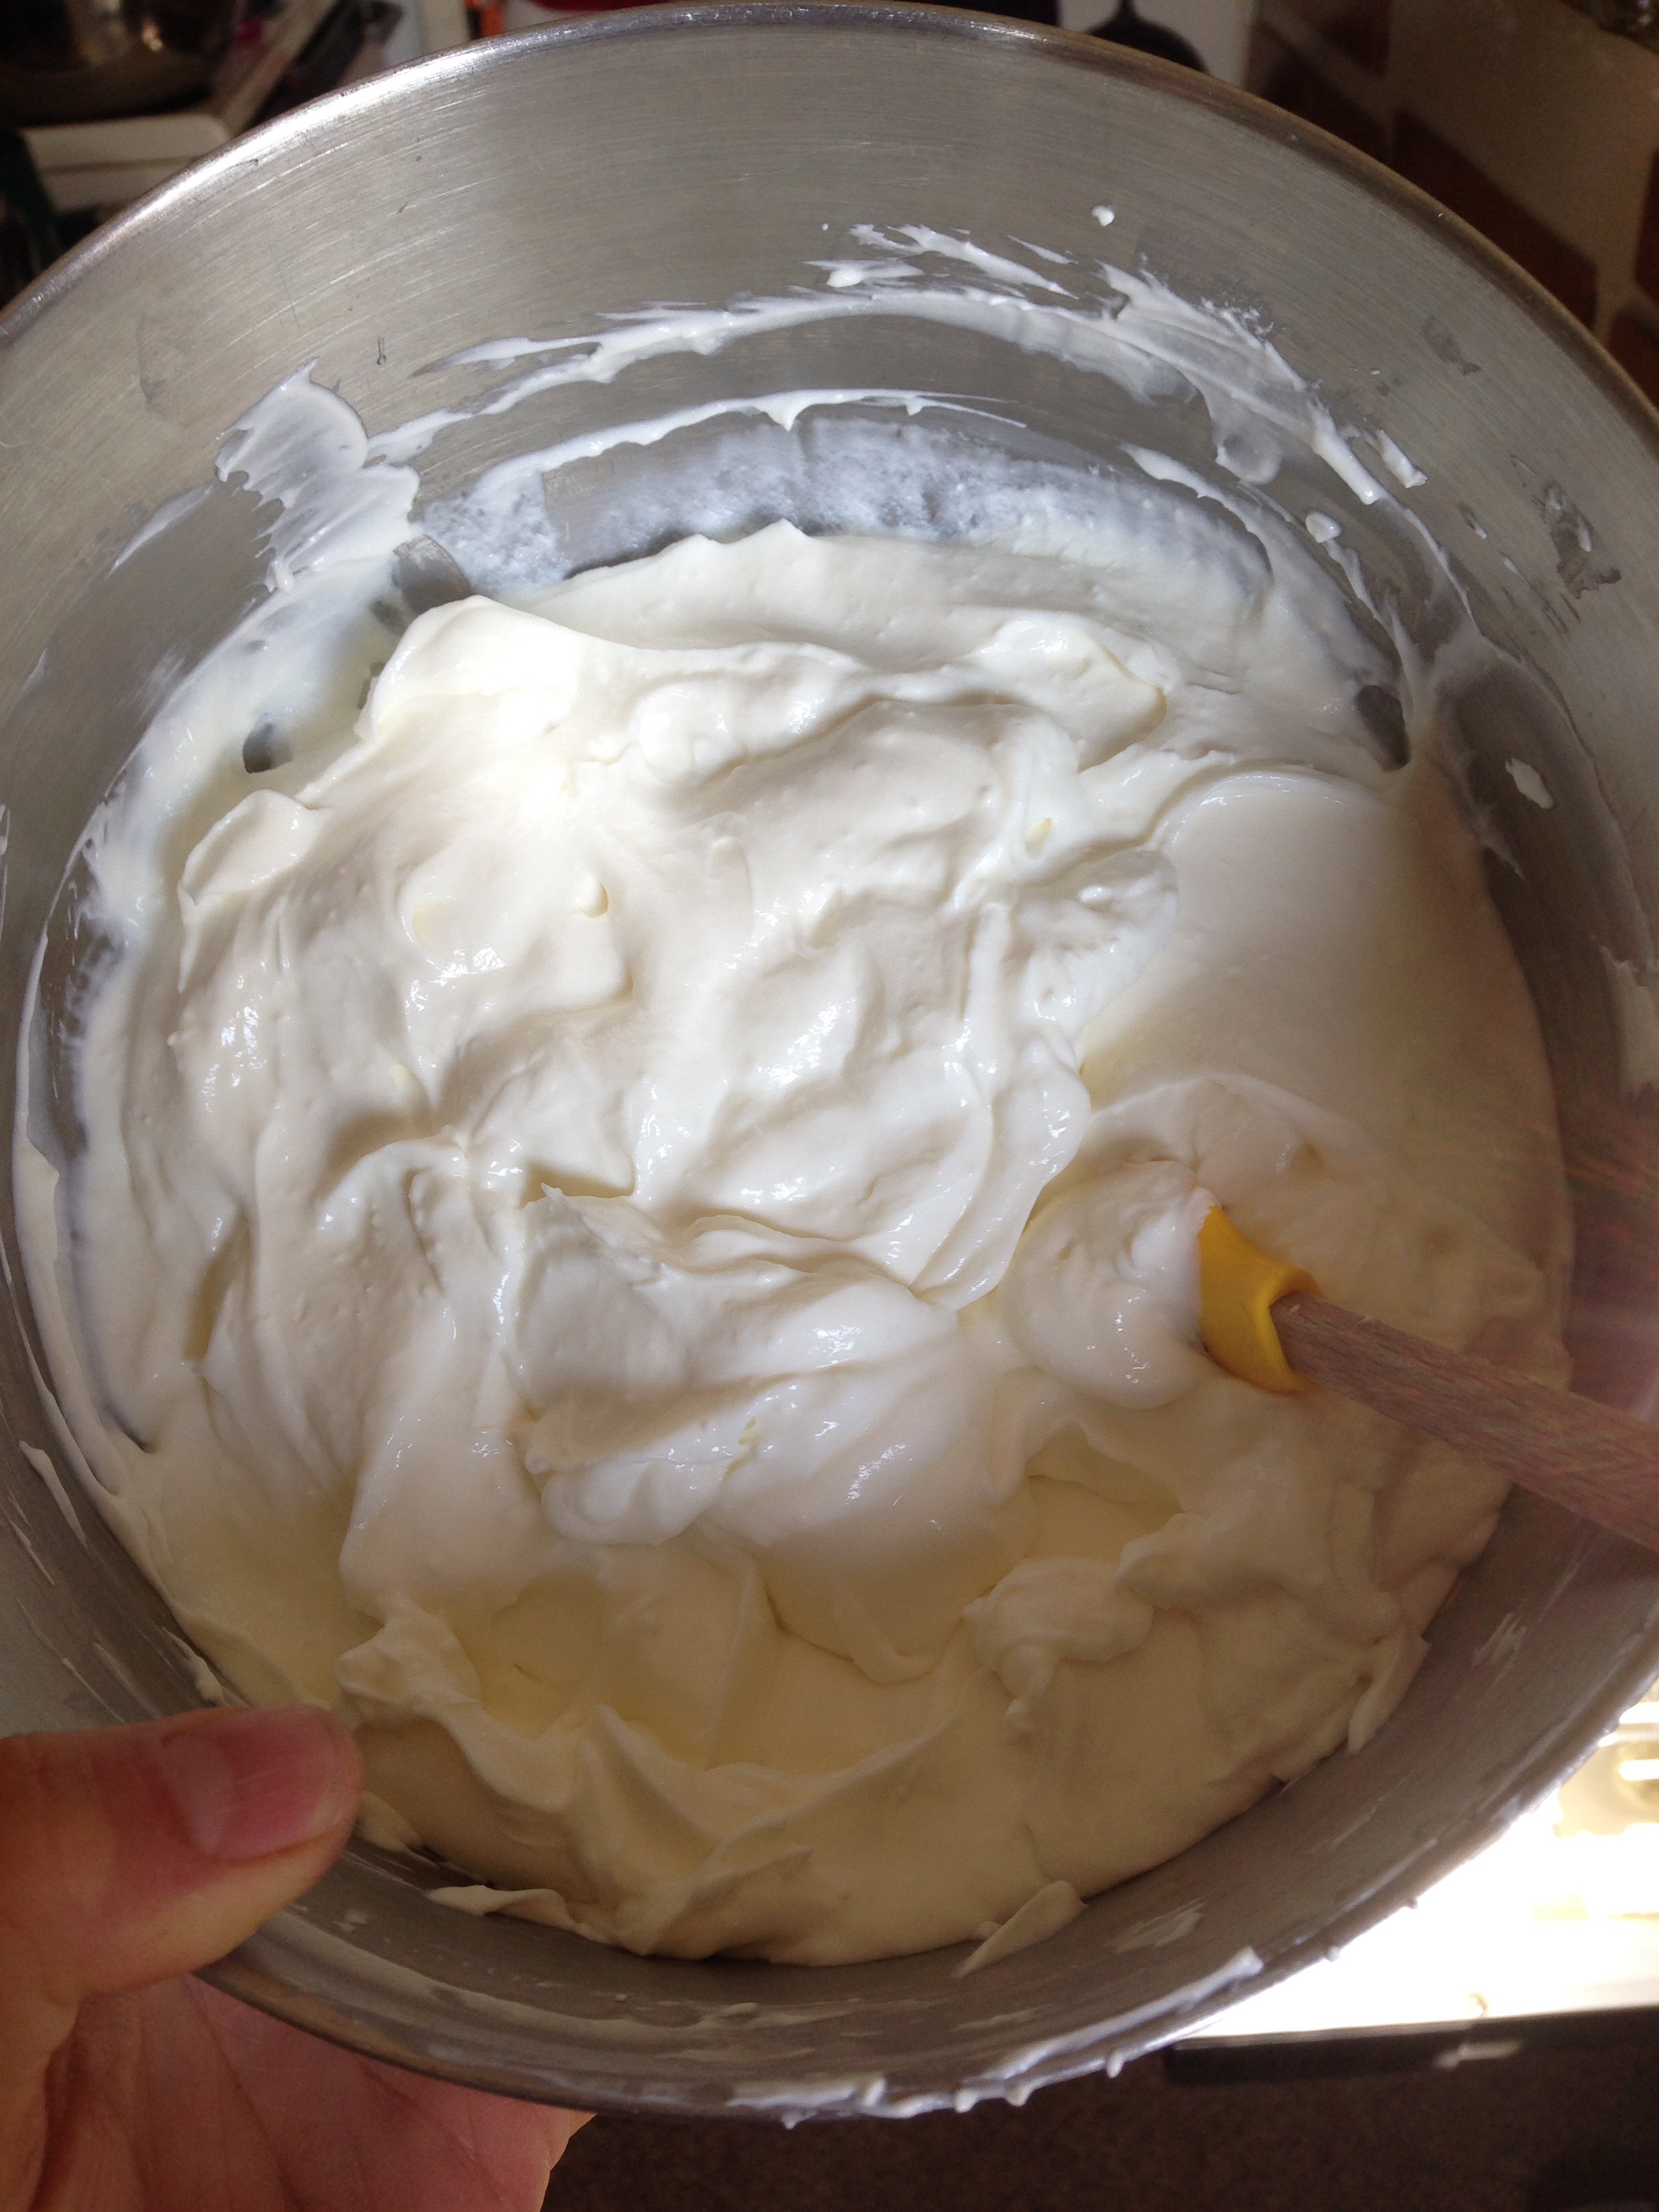
9) after the rest period if you want the yogurt thicker strain it for several hours or over night in the fridge. You can use a yogurt strainer. I just place a strainer over a pot or large bowl, layer with cheesecloth  then poor yogurt into cheesecloth.  Gather the extra cloth around the edges and tie with a string or rubber band. Place in fridge and let the whey strain from the yogurt.

10) after straining is finished save your clear yellowish whey in sealed glass jars for up to 6 months in your fridge or freeze. You can find tons of uses for liquid whey on internet. Reuse it don’t throw away. 😉

11) add your favorite sweetener and fruit and you are ready to eat your very own homemade yogurt!!

1 gallon of whole milk makes about 2 quarts of Greek yogurt (strained) and about 2 quarts of liquid whey.


It seems like a lot of work for 2 quarts of yogurt but not really, a lot of it you are just waiting. To me knowing all the actual ingredients in my yogurt is worth it. ENJOY!!!

Garden Update – Plants Survived!!!

I was so scared to take the blankets off the beds yesterday.  It looks sunny in this photo but places with standing water had a nice layer of ice…

THEY SURVIVED!!!!! Thank you universe.

FENCING:

Before the storm I finished the fence. Since chicken wire is not very sturdy I had to reinforce the fence so it would stand up straight instead of sag. I accomplished this by weaving small 5′ plant stakes thru the holes of the chicken wire.

The storm caved in one corner. This corner had a smaller post and it couldn’t take the load of the snow. This photo was taken about 8pm on Wednesday when the corner was still ok. By Thursday morning it wasn’t pretty.

I tried to pound the stake upright again with no luck. So I pounded in another stake in front of it and then wired them together. It worked great!

RAIN BARREL:

I finally got the platform for the rain barrel level. I don’t want this bad boy fallen over with 60 gallons of water in it. Unfortunately my house doesn’t have gutters so I can’t use it the way it should be used. I use it as a holding tank, so I have water to use when I don’t want to drag the hose out. 

STARTER PLANTS:

Are looking great!


I buy these high walled folding baskets from my produce guys at my local grocery store. Each basket can hold 24 3″ square seed starter pots, and they are stackable. They have plenty of room for the plants to grow without crushing them when they stack. Here is the product number that I use…

During the day I lay them outside to soak up the sun. During chilly nights, it is so easy to carry them inside and stack them up in my tiny livingroom like this…

One of my bare root strawberries sprouted! I started a crap load of strawberries for a strawberry tower project I’m going to try this year. More to come later.

MASON JAR HERB GARDEN:


Everything sprouted and is growing wonderful. 

PLANTS:

I am so thankful that everything in the garden so far has survived a huge snowstorm and 24° weather.

Peas look good and I still can’t believe I have carrots that didn’t sprout from last year growing. 

All the strawberries and the one lettuce plant all came up from last year. 

Poor chard plants are cut back very small but look beautiful. The chard that I planted not too long ago are starting to sprout now. 

Thyme growing well.

Sage is huge! Need to cut back. 

Two of the square foot planted red onions did not get squashed from the snow. I’m sure these babies will come back just fine.

Well that’s all for now. Thanks for reading and until next time Happy Gardening!

Garden Update – SNOW

I know Wednesday was going to be a crappy day but I didn’t think it was going to be this crappy. The snow was so wet and heavy it accumulated on the chicken wire fence and actually collapsed one corner. Grrrrrrrrrrrr.

I covered the raise beds before I went to work but I covered them very lightly. I wasn’t expecting the snow to be so damaging. Mr. Snow crushed everything in the garden that was living.

Hey, I did get my first harvest from the garden tho. 😀 I guess I have Mr. Snow to thank.  I had to cut back all the chard and the onion greens that got flattened.

So today I covered the beds up correctly. I covered with frost blanket and then afterwards an actual blanket.

Because of this…..

A wonderful 24 degrees tonight! I think my plants have a shot now that they have some hope of warmth. I guess I will find out soon enough.

Happy Gardening!